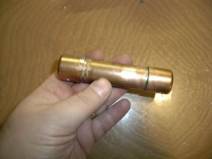
Step #1
Solder the end caps onto the copper pipe. This will be the on-board tank for the ballast system. This tank will hold liquid PROPEL (airbrush propellant). |
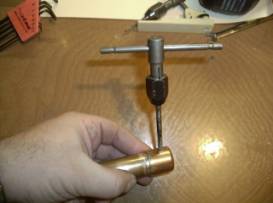
Step #2
Drill and tap a 10-32 hole in each side for the fittings. |
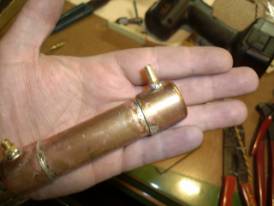
Step #3
Install a tubing fitting and male/male fitting into the on-board tank. |
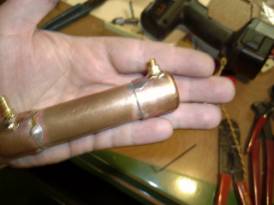
Step #4
Solder the fittings in place. Drill and tap two holes beneath each fitting on the bottom of the tank for the 4-40 mounting bolts. Screw bolts into these holes and solder in place. When cool cut off the bolt heads. Make sure there is enough bolt exposed to go through the ballast tank wall. |
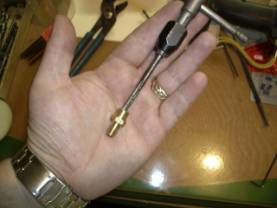
Step #5
Remove the valve core from the brass tank valve. Tap the large end for a 10-32 tubing fitting. |
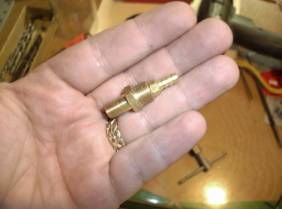
Step #6
Install the fitting into the valve. Solder in place. When cool, reinstall the valve core. This is the fill valve. |

Step #7
Mount the clippard valve on to the male/male fitting as shown. Attach a piece of 1/8” tubing to the fitting. |
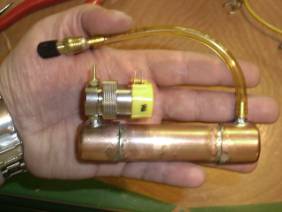
Step #8
Attach the completed fill valve to the hose and pressure test the system. Coat the solenoid valve with silicone sealer to make it waterproof. Remove the fill valve. |
Step #9
Position the on-board tank in the center of the ballast tank and mark the locations for the mounting bolts. Drill the mounting holes and mount the on-board tank. |
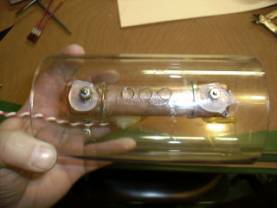
Step #10
Apply silicone sealer to the inside of the tank and mount the on-board tank. Secure the tank with nuts. Note: Flood holes are drilled in the bottom of the tank. |
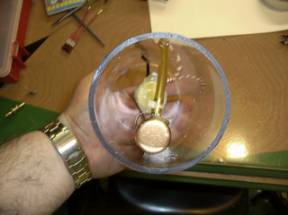
Step #11
Mounted on-board tank seen from the end. |
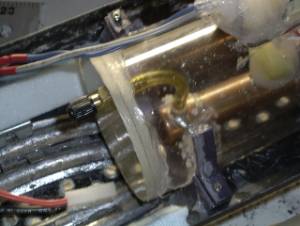
Step #12
Drill a hole through a ballast tank cap for the fill valve. Install the fill valve into the end cap. Re-connect the tube to the valve and glue the end caps in place with silicone sealer. |
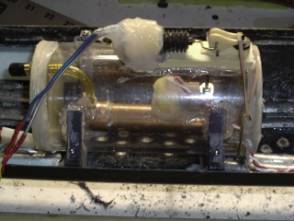
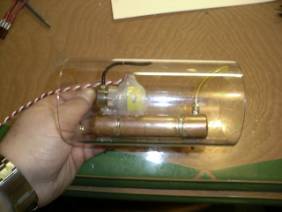
Step #13
Completed ballast tank. Note the silicone sealer on the vent solenoid and clippard valve. Use a rubber band to keep the vent valve closed. |
|
|
|